How to Make a Heishi Bead Necklace
Introduction
Creating a Heishi bead necklace is a fun and rewarding craft that allows you to express your creativity and fashion sense. With a few essential materials and some guidance, you can make a beautiful accessory that’s uniquely yours. This guide will walk you through the process, from gathering supplies to customizing and caring for your finished piece.

Materials and Tools Needed
Before diving into the creative process of making your Heishi bead necklace, you’ll need to gather essential materials and tools:
Materials:
– Heishi beads: Choose beads that appeal to you in terms of color, size, and material. Common materials include shell, stone, and polymer clay.
– Clasp: A lobster claw or toggle clasp works well.
– Bead string: Nylon cord, beading wire, or elastic thread, depending on your preference and the beads’ weight.
– Crimp beads: Necessary for securing the ends of the necklace.
Tools:
– Scissors or wire cutters: For cutting the string or wire.
– Beading needle: Useful for threading small beads.
– Crimping pliers: For securing the crimp beads.
– Bead board: Helps plan out your design before assembly.
Having all these tools and materials ready will streamline the process of creating your necklace. Next, let’s delve into designing your unique Heishi bead necklace.
Designing Your Necklace
The design phase is where your creativity comes into play. Here’s how you can plan your necklace:
- Inspiration: Look for design inspiration online, in magazines, or through nature. Note the patterns and color combinations that stand out to you.
- Length: Decide the length of your necklace. Popular lengths range from choker length (16 inches) to matinee length (24 inches).
- Patterns: Sketch your design on paper or use a bead board to lay out the pattern. Mixing different sizes and colors of Heishi beads can create interesting textures and visual appeal.
- Symmetry vs. Asymmetry: Decide if you want your necklace to have a symmetrical design or a more free-form, asymmetrical look.
Planning your design carefully ensures that the assembly process is smooth and that your end product is exactly what you envisioned.

Step-by-Step Assembly Process
Having designed your necklace, it’s time to bring your vision to life. Follow these steps:
Preparing Your Work Area and Supplies
Begin by organizing your workspace. Ensure you have all the materials and tools within reach. This preparation prevents interruptions and allows you to focus on crafting.
Stringing the Heishi Beads
- Cutting the String: Cut your string or wire to the desired length, adding a few extra inches to accommodate the clasp and any adjustments.
- Threading: If using a beading needle, thread it onto one end of the string. This makes it easier to add the beads.
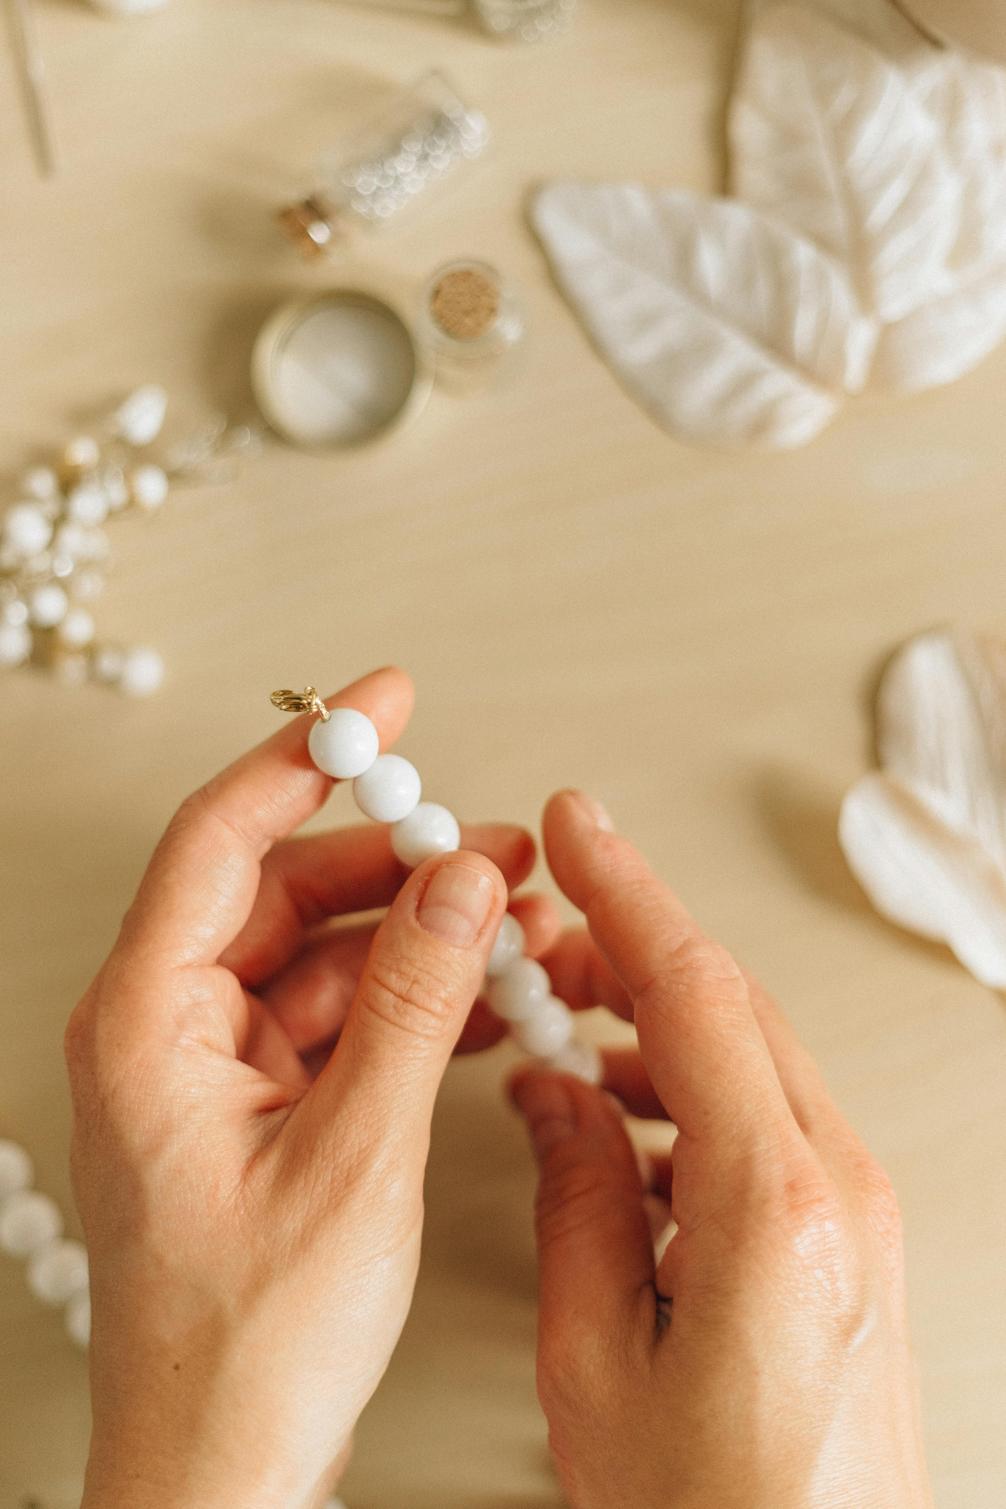
- Start Beading: Begin stringing your Heishi beads according to your planned design. For intricate patterns, double-check each section against your design layout on the bead board.
Securing the Clasp
- Adding Crimp Beads: Once you’ve finished stringing the beads, add a crimp bead to each end of the string.
- Attach the Clasp: Thread the clasp onto one end, then loop the string back through the crimp bead. Pull tight to secure.
- Crimping: Use crimping pliers to flatten the crimp bead, securing the clasp in place. Trim any excess string.
- Repeat: Repeat the process on the other end of the necklace to attach the opposite part of the clasp.
Your Heishi bead necklace is now assembled! Next, let’s explore some advanced tips and customization ideas to enhance your creation further.

Advanced Tips and Customization Ideas
To elevate your Heishi bead necklace, consider the following advanced tips and customization ideas:
- Charm Additions: Add small charms or pendants between sections of beads for an extra touch of detail.
- Mixed Materials: Combine Heishi beads with other bead types, such as glass or metal, for a unique look.
- Layering: Create multiple necklaces of different lengths and wear them together for a layered effect.
- Color Gradients: Design a gradient pattern, transitioning from one color to another along the length of the necklace.
- Spacers: Use metal or glass spacer beads to break up sections of Heishi beads and add visual interest.
These customization options allow you to make a necklace that truly reflects your personal style and creativity.
Care and Maintenance for Your Heishi Bead Necklace
To keep your Heishi bead necklace looking its best, follow these care and maintenance tips:
- Storage: Store your necklace in a soft pouch or jewelry box to prevent scratches and tangles.
- Cleaning: Wipe your necklace with a soft, damp cloth to remove any dirt or oils. Avoid using harsh detergents or chemicals.
- Avoid Water: Keep your necklace dry, especially if the beads are made from materials that can absorb water, like wood or untreated shell.
- Regular Checks: Periodically check the clasp and string for wear and tear. Re-string the necklace if you notice any fraying.
Proper care will ensure your handmade Heishi bead necklace remains beautiful and durable for years to come.
Conclusion
Creating a Heishi bead necklace is a fulfilling and enjoyable craft. By following these steps—from gathering materials to designing and assembling, and finally taking care of your finished piece—you’ll have a beautiful, custom-made necklace. Whether you’re a beginner or an experienced crafter, there’s always room to explore new designs and techniques. Happy crafting!
Frequently Asked Questions
What types of Heishi beads are best for beginners?
Beginners may find polymer clay Heishi beads easier to work with due to their uniform size and lightweight nature.
How long does it typically take to make a Heishi bead necklace?
On average, it takes about 1 to 2 hours to make a Heishi bead necklace, depending on the complexity of your design.
Can I add additional charms or pendants to my Heishi bead necklace?
Absolutely! Adding charms or pendants can personalize your necklace and give it extra flair. Choose items that complement your bead colors and design.

